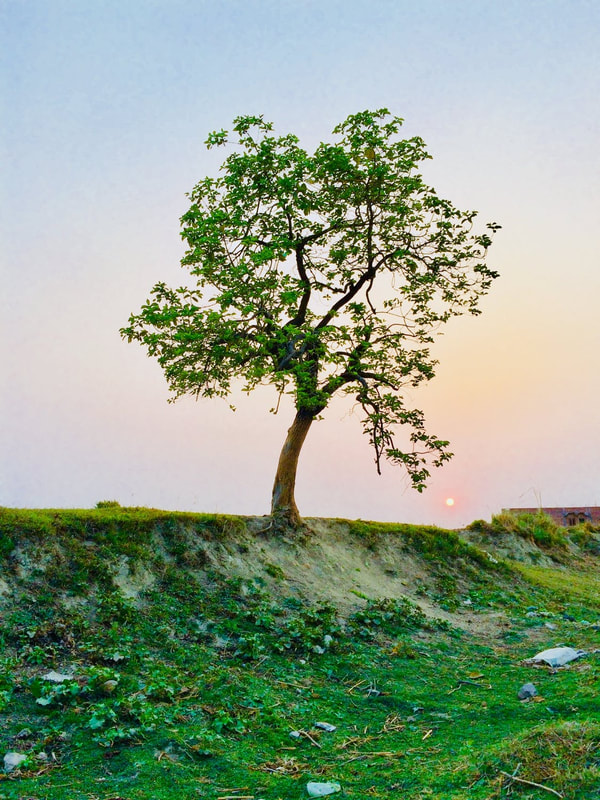
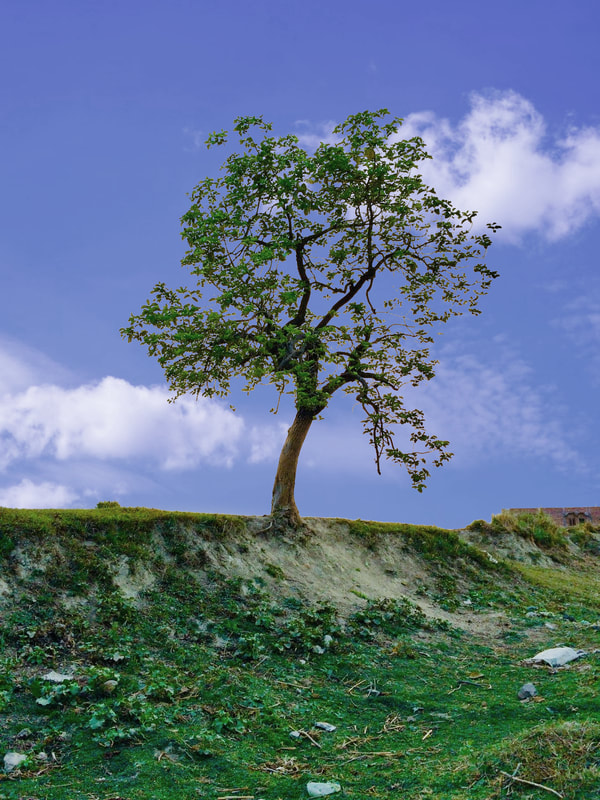
Exhibit 2:
|
Before:
|
After:
|
|
|
Description: I opened the original image in photoshop and then went to the channels menu. I chose to work with the blue channel since it had the most contrast. I control+clicked the channel and made a copy of it. Then, using levels and the brush tool in overlay mode, I made the sky completely white and the ground + tree completely black. Then I command clicked and went back to the layers menu and hit the layer mask button. Then I clicked on the mask and hit command + I to invert the mask so the sky would be transparent. I then found a sky background I liked and brought it in. Finally I played with the curves and the hue and saturation to get the two pictures to blend together a bit better.
